Announcement

Collapse
No announcement yet.

DDC and EK PUMP TOP ASSEMBLY

Collapse
X
 
  • Filter
  • Time
  • Show
Clear All
new posts

  • DDC and EK PUMP TOP ASSEMBLY

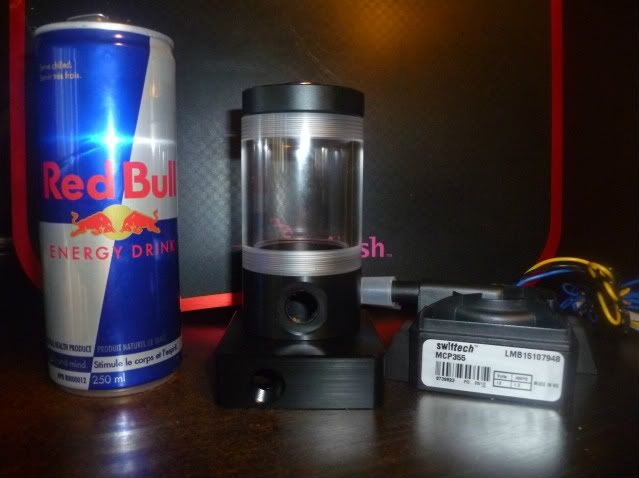
    This tutorial is sponsored (not really) by RedBull.

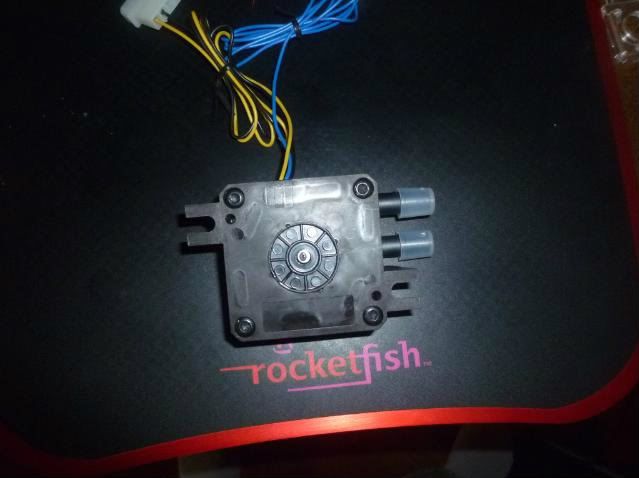
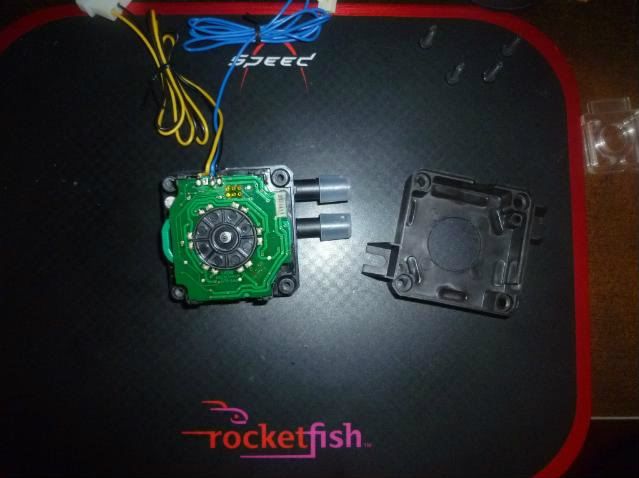
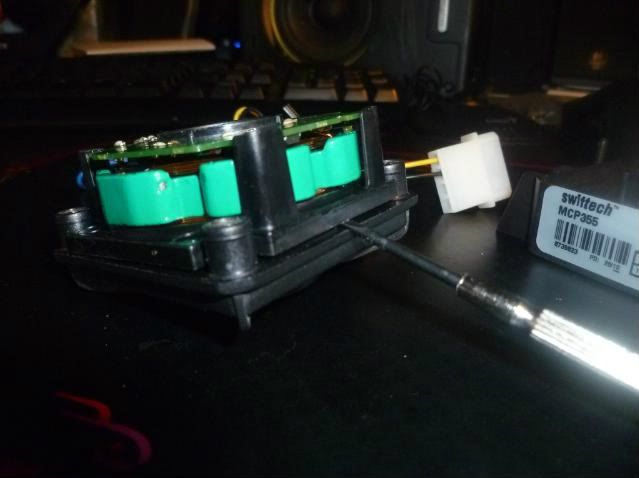
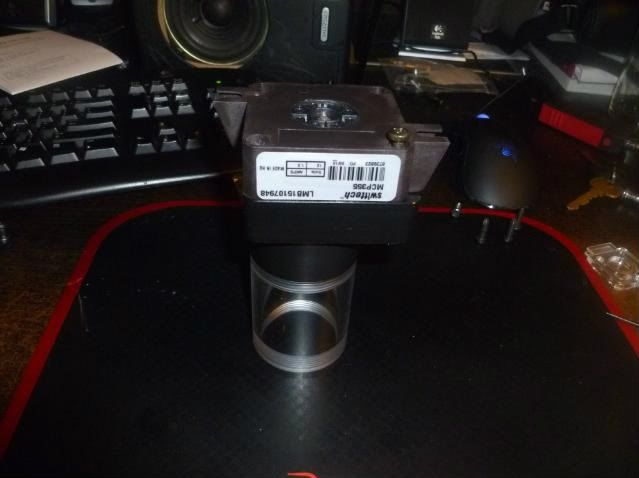
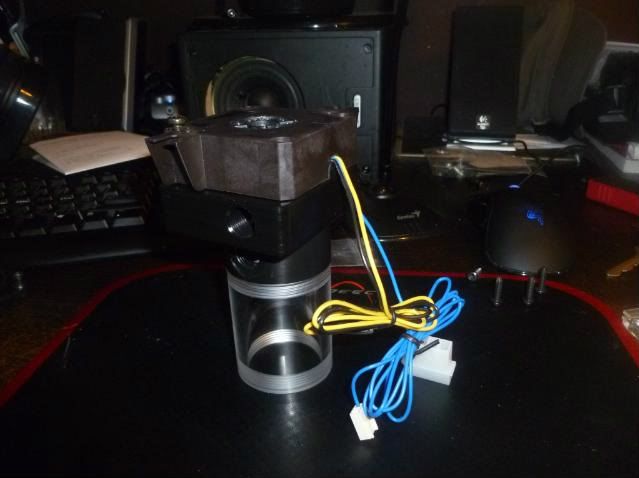
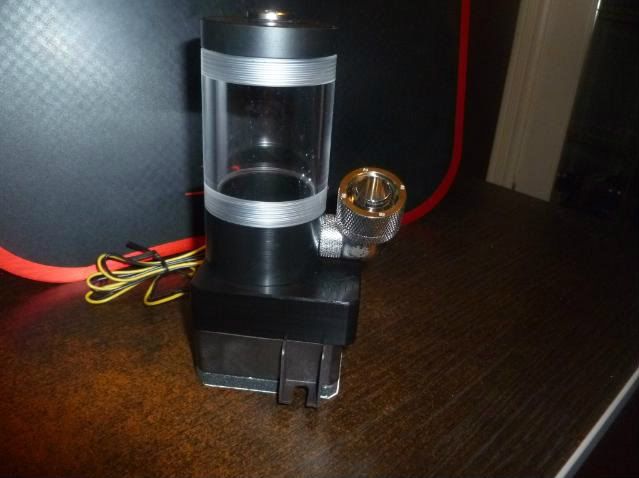
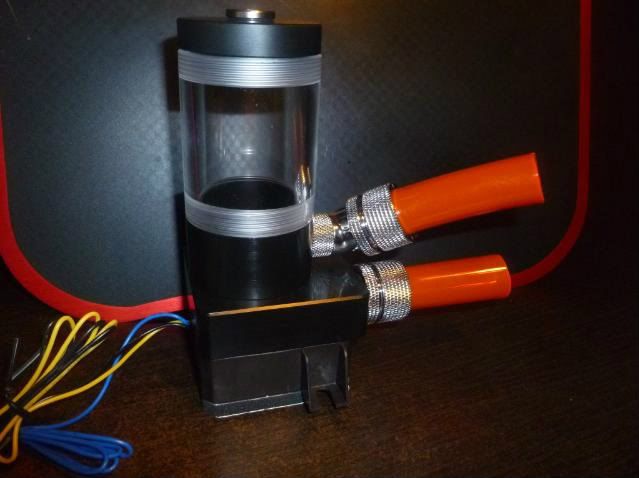
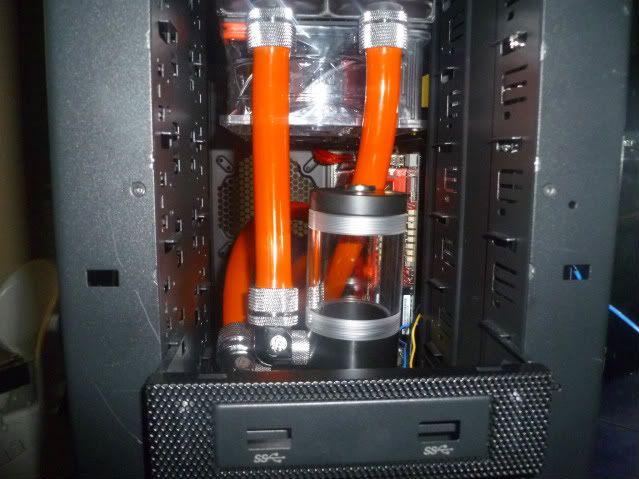
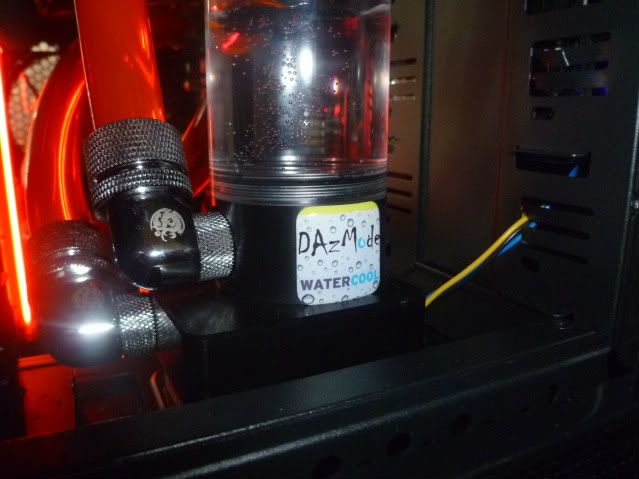
    Today we will assemble the DDC pump and the EKWB 100mm pump top.
    Here we have pictured:

    EK-DDC X-RES 100
    Swiftech MCP 355 version of the DazMode STORM DDC 3.25

    Last edited by bungwirez; 06-06-2012, 05:09 PM.
    HAF932 Mods
    C70 Mods

  • #2
    We begin with... the pump.

    On the underside are four screws to be removed.
    You will need a T20 TORX screw driver for this job.
    (although variations of this pump are said to have simple Philips screws)


    Screws out.. you will find this happy place.

    HAF932 Mods
    C70 Mods

    Comment


    • #3
      Now the tricky part... lolz.
      With a small flat blade screwdriver, pry off the motor from the mounting.
      It should just fall apart easy if you're under the right edge.


      Again, find your happy place. this is what you'll find under the hood.

      Last edited by bungwirez; 06-06-2012, 05:11 PM.
      HAF932 Mods
      C70 Mods

      Comment


      • #4
        Here's where my cameraman dropped the ball.

        Reassemble the pump motor and O-Ring back into the bottom mount of the pump.
        Carefully orient the EK pump top onto the pump and flip it over so you can re-apply the screws.
        EK thoughtfully supplies the standard Philips screws in the Top accessories.


        Be sure to orient the cables appropriately...

        HAF932 Mods
        C70 Mods

        Comment


        • #5
          That's pretty much it. don't forget the O-Ring... its very important seal.

          now add some fittings. oo. the standard BP 1/2 OD straight fitting ... it don't work on this pump top...


          a 90! no problem.


          and a 45 as well.

          Last edited by bungwirez; 06-06-2012, 05:05 PM.
          HAF932 Mods
          C70 Mods

          Comment


          • #6
            Well, thats all. Here's the application in the Optical bay of the HAF932.


            And of course the shout out to our best Canadian Watercooling Store ... YA!


            So, thats it. Easy pie.

            Thanks for reading everyone.
            Please offer your comments and questions to the box ... below.
            HAF932 Mods
            C70 Mods

            Comment


            • #7
              Fantastic tutorial! Thank you so much!
              __________________________________________________
              Retro Build: Build Log,
              Baby Blue Build: Build Log,
              Green Lanten Build: Build Log,
              Sentinel Build: Build Log,
              Venom Build: Build Log,
              Silent Sniper Build: Final Video,
              Orange Build: Final Video
              HTPC Build: Final Video
              __________________________________________________

              Comment

              Working...
              X